How to connect to on-prem SharePoint (OAuth / deprecated)
C/AL NavSherpa (up to Business Central 14) is using CSOM library to connect to SharePoint and you can quite easily use for example Basic authentication.
AL extension NavSherpa is using REST API in the background and old methods of authentication are now deprecated – you need to use OAuth. It works out-of-the-box with SharePoint Online – and for on-prem SharePoint installations (SharePoint 2013, 2016, 2019) you need to do a few actions to properly establish the connection.
Prerequisites
We recommend upgrading NavSherpa extension at least to version 17.07.00, 18.05.00 or 19.00.00.
Authentication
Low-trust Authorization
Basic information
Low-trust authorization basically means that:
-
You are using
OAuth authentication in
NavSherpa and you must set up the access token with the
wizard as you would do for
SharePoint Online. But before you can do it, you must establish
trust between your on-prem
SharePoint and
ACS, which will issue access tokens.
-
You need a working
Office 365 tenant. It can be blank, and you even do not need to use it for user authentication – but the low-trust authorization uses it to get the authentication token.
-
-
There is a trust relationship between your on-prem
SharePoint and
ACS, which must be established via
PowerShell, before you start the
NavSherpa Setup Access Token wizard.
-
NavSherpa / the acting user in
Business Central must have access to internet to get the token. But the
SharePoint on-prem farm can be in the internal network only, no need to expose it through firewall.
-
The access token is valid for some period (usually a day).
NavSherpa always saves the token in the
Access Tokens table and uses it, until it needs to be refreshed. This means, that you will usually call the external address
https://accounts.accesscontrol.windows.net/ only once per day.
-
-
Warning: The app registration in
SharePoint on-prem expires after 12 months and must be renewed (delete the access token in
NavSherpa and rerun the
Setup Access Token wizard).
-
Setup
All steps must be done on the server, where SharePoint on-prem is installed and you need admin access to both SP on-prem and your O365 tenant. It is recommended, that you use HTTPS protocol on your SharePoint on-prem server.
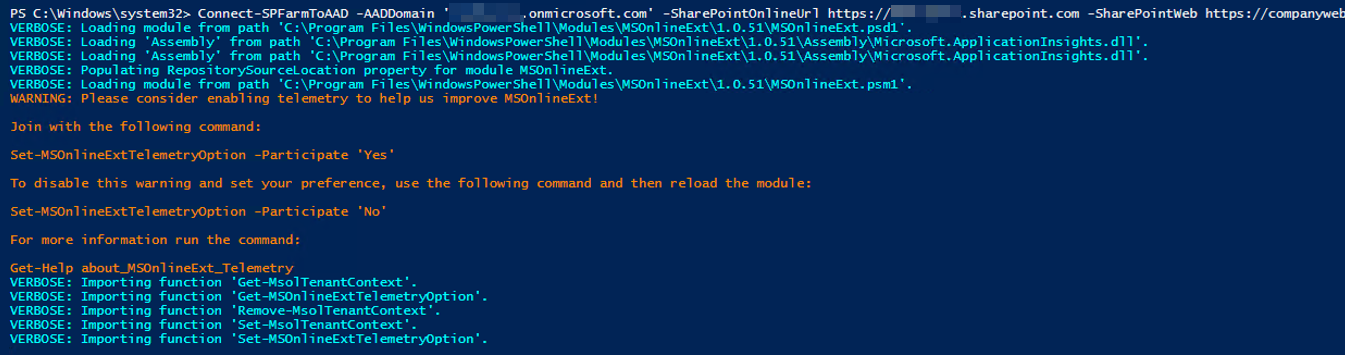
After you do all the steps in the article, the script can be run like this:
Connect-SPFarmToAAD -AADDomain 'MyO365Domain.onmicrosoft.com' -SharePointOnlineUrl https://MyO365Domain.sharepoint.com -SharePointWeb https://sp-on-prem-web-url
Use this variant for testing purposes if you have your SharePoint with http only:
Connect-SPFarmToAAD -AADDomain 'MyO365Domain.onmicrosoft.com' -SharePointOnlineUrl https://MyO365Domain.sharepoint.com -AllowOverHttp -SharePointWeb http://sp-on-prem-web-url
Instead of “MyO365Domain” use the name of your O365 tenant domain. Successful output looks like this:
In the background the authentication realm GUID in your SharePoint on-prem changed to the GUID of your O365 tenant. You can check the realm ID with these two commands:
Add-PSSnapin Microsoft.SharePoint.PowerShell
Get-SPAuthenticationRealm
And it will be visible in NavSherpa SharePoint Access Tokens page too:
If you have a token with wrong
Bearer Realm here, delete it and rerun the
Setup Access Token wizard.
Troubleshooting
Cannot install MSOnlineExt PS module
If you are not able to install MSOnlineExt PS module with an error:
Internal network only SharePoint is not visible from Docker testing environment
If you want to test
NavSherpa in your local Docker on a
SharePoint, that is installed in local network only (e. g. on a local address like
http://spsolution.navisys.local), NavSherpa may not be able to see the
SharePoint initially. To fix this, add the
SharePoint IP and domain into
hosts file inside the container:
-
Open container
PowerShell console as an admin
-
Call the command:
echo <IP> <Domain name> >> c:\windows\system32\drivers\etc\hosts
e.g. for
http://spsolution.navisys.local website hosted on IP 192.168.10.5:
echo "192.168.10.5 spsolution.navisys.local" >> c:\windows\system32\drivers\etc\hosts
Note: you can view the contents of your docker .hosts file with command:
Get-Content -Path c:\windows\system32\drivers\etc\hosts
Hight-trust Authorization
NavSherpa does not support this form of authorization now, please use low-trust authorization instead.
Internal network only installations
If you however have your SharePoint on-prem farm in your internal network only, you will need to do a few actions manually. The reason is that AL NavSherpa is not able to do a few actions via REST API and must use Azure functions to achieve the goal (and Azure functions need an endpoint accessible from internet for that). These actions include:
-
Creating a new content type on
SharePoint site
-
Adding a field to a content type in
SharePoint List or Library
Both issues can be quite easily mitigated manually. Please note, that you must do both steps before calling
Update List on SP action.
Create new content type on SharePoint site
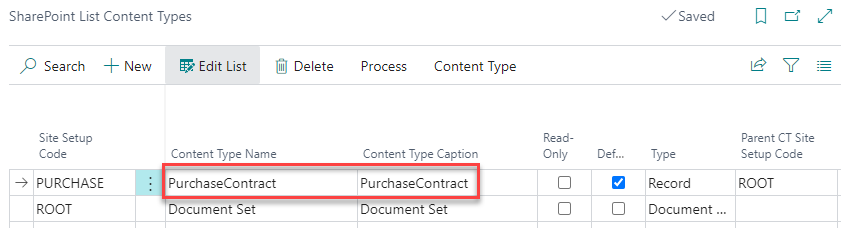
Let’s say you have a custom content type in Library Setup, that does not exist on SharePoint site yet:
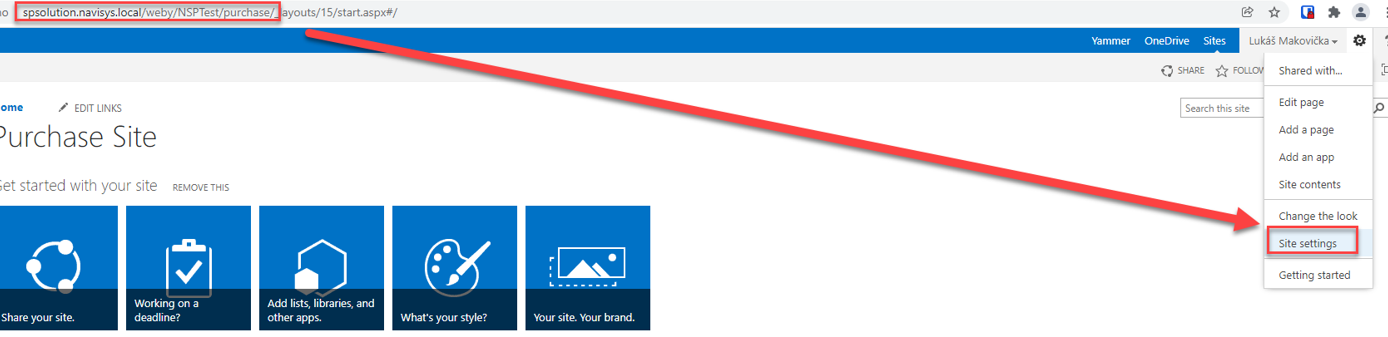
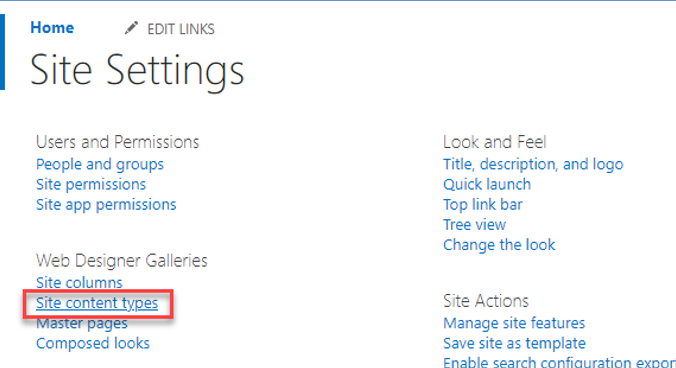
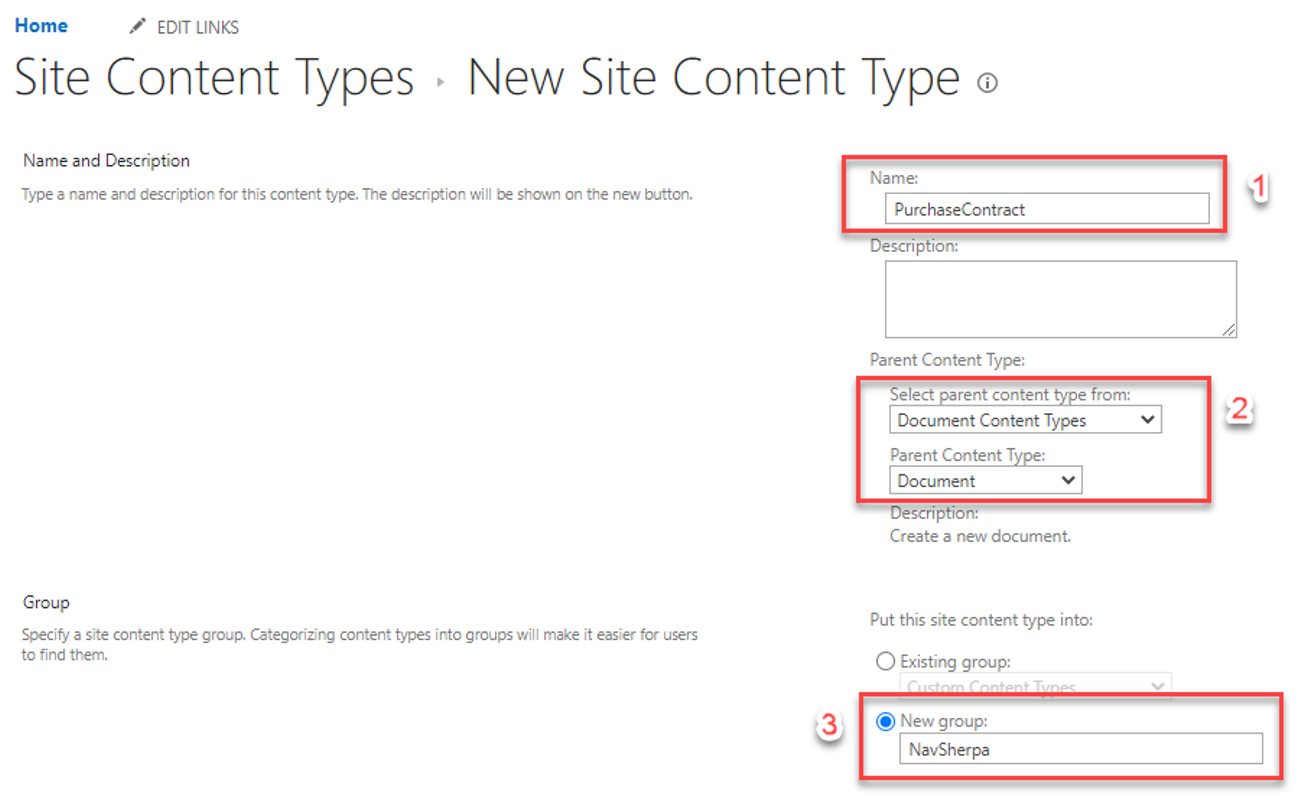
Open the SharePoint web, go to Site Settings and select Site Content Types.
Create a new content type:
-
Give the content type the same name like in your
NavSherpa settings.
-
As the
Parent Content Type select
Document in document libraries and
Item for lists.
-
For easier maintenance add the new content type to your custom group.
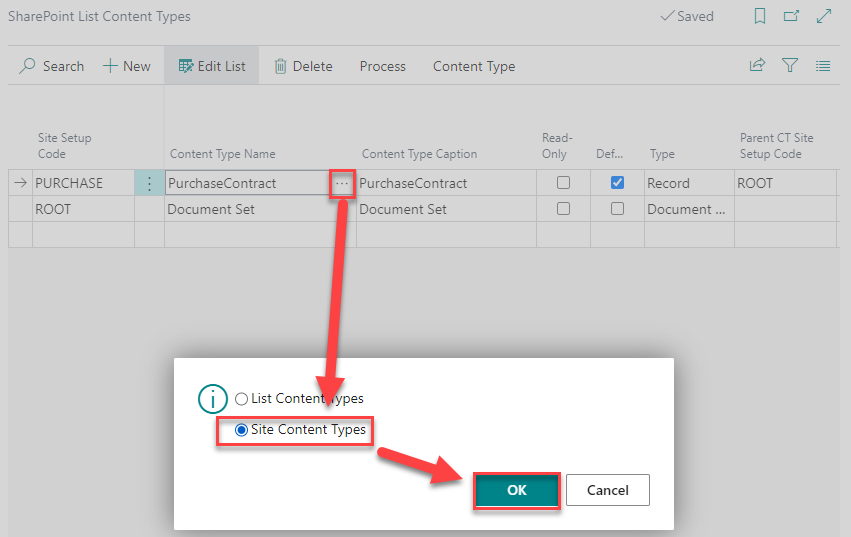
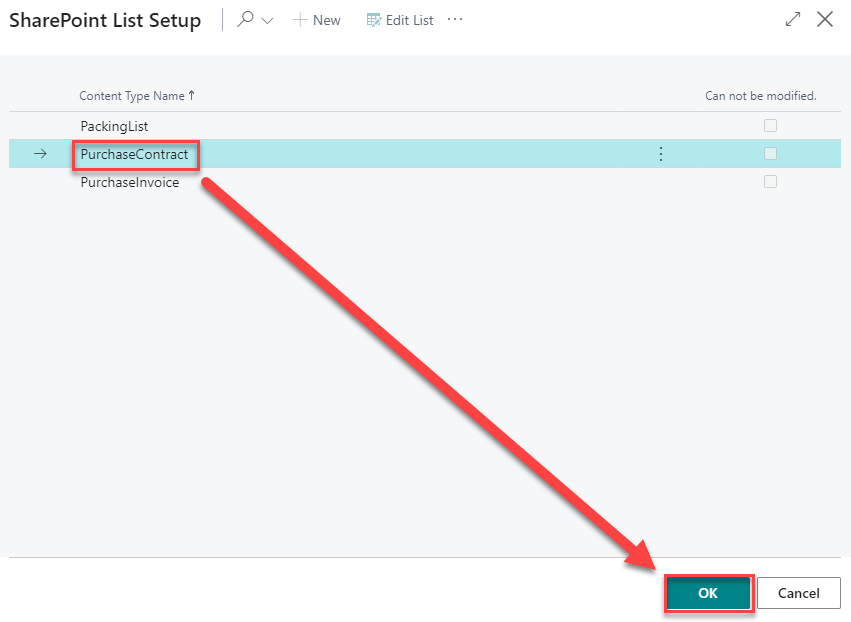
Now open your SharePoint list setup Content Types and manually select the existing content type – you need to select Site Content Types for that.
That’s it, NavSherpa will now use the existing SharePoint content type.
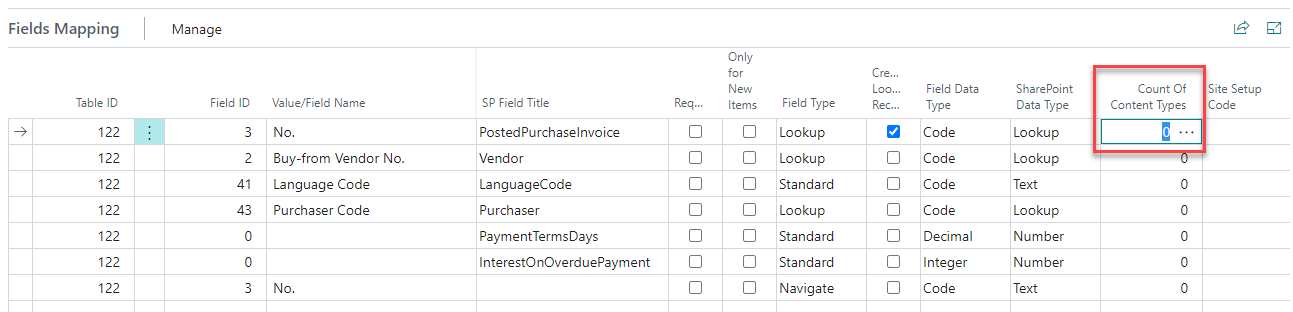
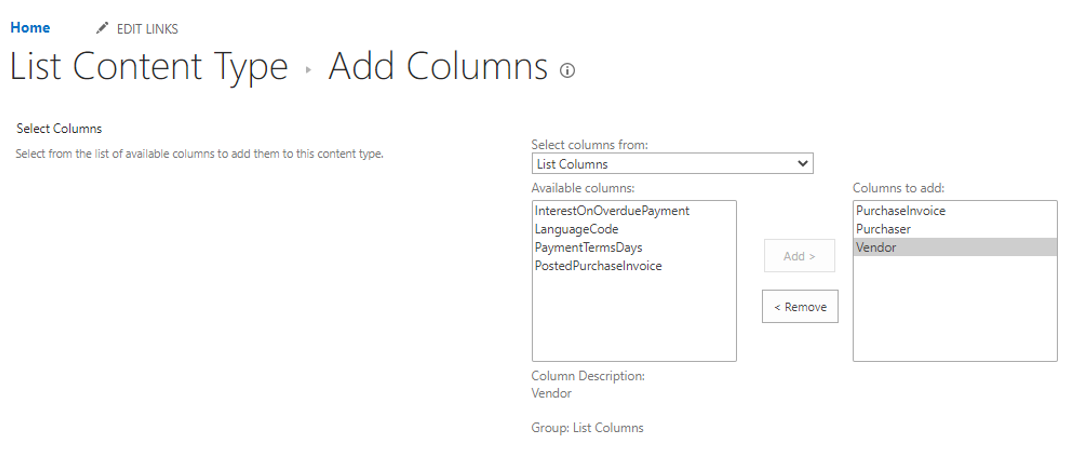
Add fields to content type
You can add fields to content type via field Count Of Content Types (open the details to see the full list). For internal network only installations we recommend deleting all existing assignments, so you will have 0 in the entire column.
This way NavSherpa will not try to add any field to a content type and the Azure function won’t be needed – and NavSherpa will export all fields data to all content types.
If you need to see the fields in the SharePoint file properties form, you can add them manually in Document Library Settings on SharePoint.
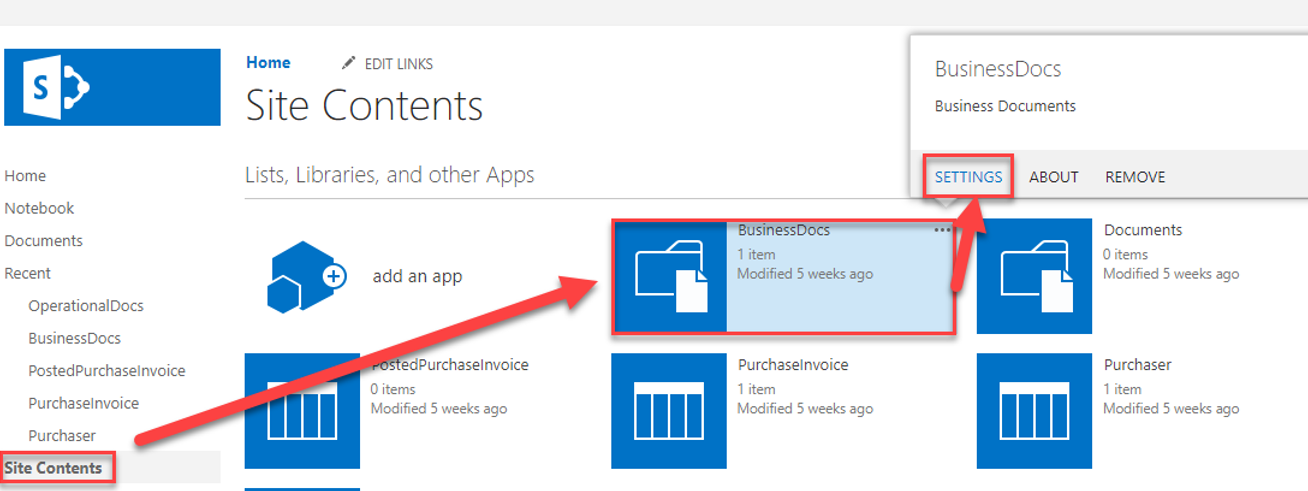
Go to the Site Contents on SharePoint, select your library and open Settings.
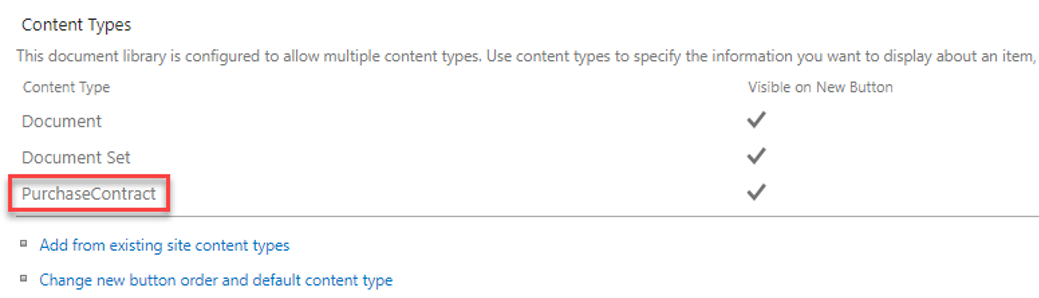
In the Content Types section open your content type.
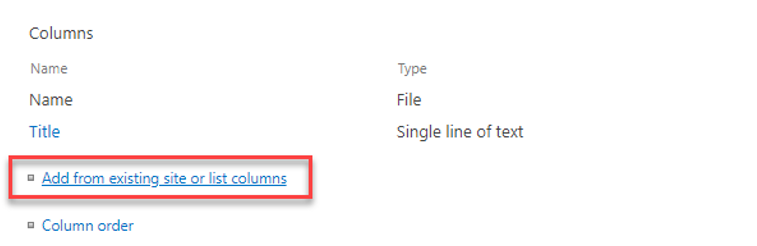
Add new columns with action Add from existing site or list columns.
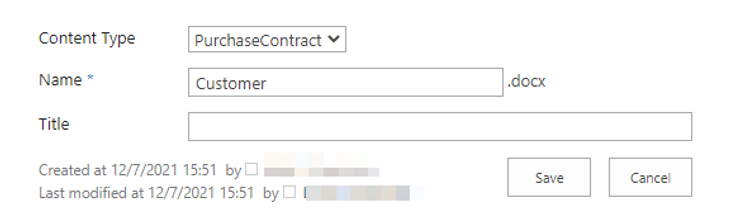
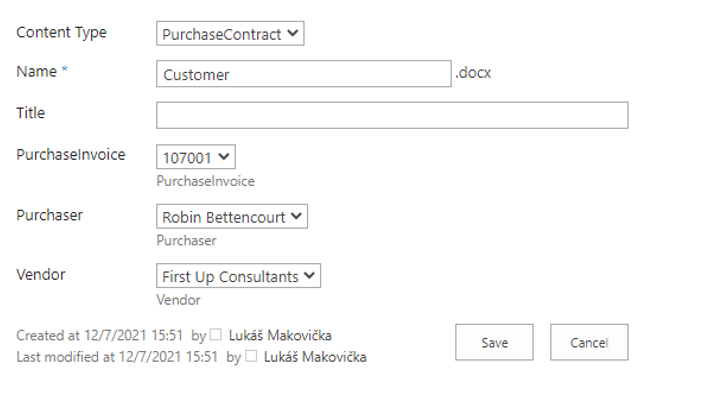
After you confirm the action, you will see the selected fields in the edit form for selected content type.
Please note, that since you did not attach fields to content types in
NavSherpa list setup,
NavSherpa will fill all fields in the background. If this is not acceptable, you can select the field content types manually now (however, you might have some issues with function
Update list on SP afterwards).